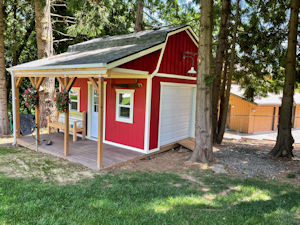
Save 30% off Any Shed Plan Purchase!
Signup For My 'Shed n Sight' Newsletter
and Get Your 30% off Promo Code To Use At Checkout.
- Home
- Shed Roof Framing
Shed Roof Framing
Your shed roof framing is not as complicated as you might think. If you are like most people who attempt to build a shed, you probably have a good idea of how to do everything construction wise.
Except of course the roof.
Floor framing, wall framing, and building your door are not so difficult.
But what about building the shed roof? How in the world will you figure out the truss or rafter angles for a gambrel style? Or a gable or even a saltbox style?
Should you 'stick frame', or build 'trusses'? Which is easier, and which will be the sturdiest?
What is a stick framed roof and how does it differ from a roof built with trusses?
What is a stick framed shed roof?
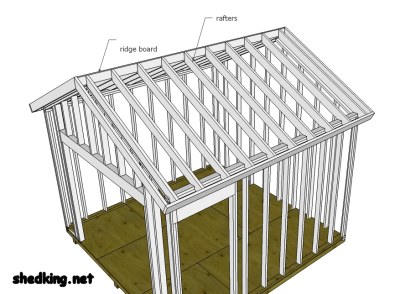 Roof framing with a Ridge Board
A stick framed roof uses 2x4's or 2x6's or whatever you are framing with, but has a ridge board running down the middle ridge line.
You then have rafters running down from this ridge board and resting on the top wall plates.
Sometimes the rafter will have a 'tail' and extend out past the wall so that you have a soffit, or overhang.
A shed roof that is not stick framed will be built with trusses.
Building a shed roof with trusses
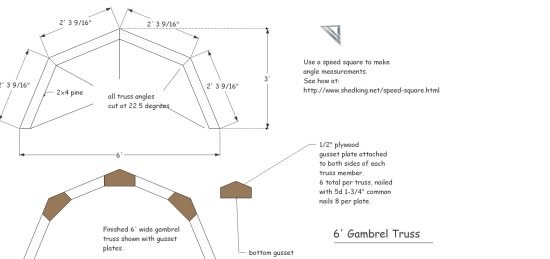 Sample of Gambrel Truss Plans
I have found in all my years of building sheds that using pre-built trusses is so much easier and simpler then building a shed roof with a ridge board, especially if you are building your outdoor shed yourself. Most of the assembly work can be done down on the ground!
You can actually build a jig on your shed floor or any open flat floor that has enough room. Build one truss, check to see that it fits, and if it does, you are good to go with the rest of the trusses. You can build them all just as you did the first one, and they will all be identical.
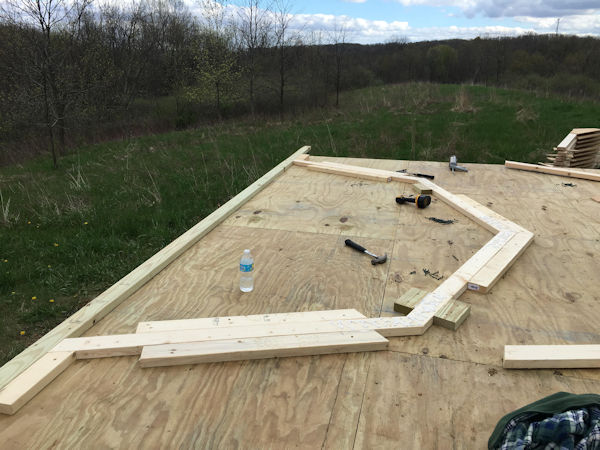 Simplify Truss Building With a Truss Jig!
Gable Style Shed Roof
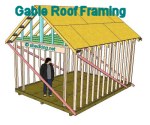
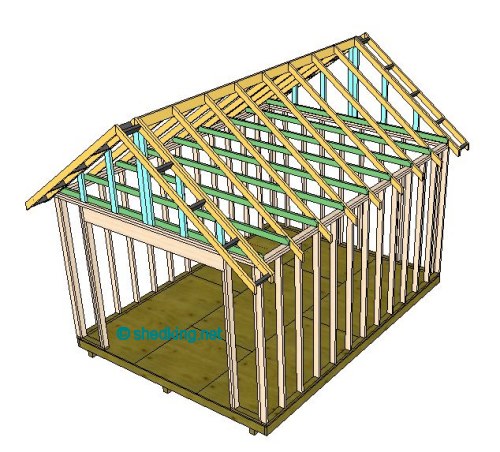 Gable Shed Roof Framing
A gable style is the easiest to build, but offers very little storage in the attic.
Unless of course you have a very steep pitch on your trusses or rafters. Then you will have more storage.
The steeper the pitch though, the harder it is to put shingles on! However the one very important consideration with any shed roof is building a roof with too low of a pitch.
Don't make this mistake when building your shed roof...
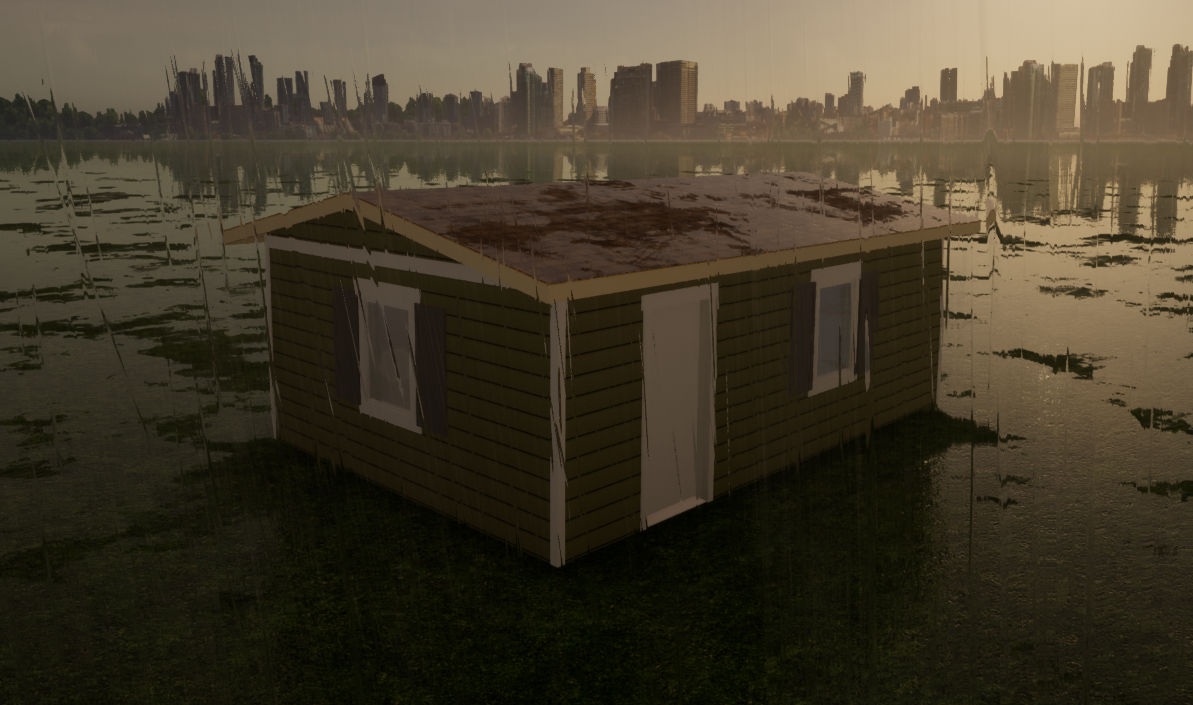 A Shingled Low Pitch Shed Roof Is Going To Leak!
I learned the hard way that when you are building your shed, and you are going to shingle it, you can't have a roof pitch lower than a 3/12. How did I learn this the hard way?
I built a beautiful shed which was a lean to roof style. The roof pitch was actually 2/12. A few weeks later we had a horrendous rain storm and low and behold my shed roof on that shed was leaking like somebody turned on a water faucet in the attic!
What went wrong I thought? After speaking with a nice gentlemen down at the local building department he informed me that if a roof, any roof, has a roof pitch less than 3/12 and it's going to be shingled it will leak water. No matter whether it rains or you have melting snow. It will leak.
So what was the solution to fixing this water leaking problem with my roof I asked. He told me I had to tear off all the shingles and put down a rubber roofing membrane that would actually be glued to the roof sheeting, then I would be able to re-shingle it. Or I could just go ahead an put on a metal roof. So what I ended up doing was going with the rubber membrane then adding shingles.
Not only did this mistake cause me to have to replace the roof, I also had some interior damage to the inside of the shed.
Detailed guide to building a gable roof for your shed.
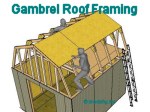
Gambrel Roof Framing
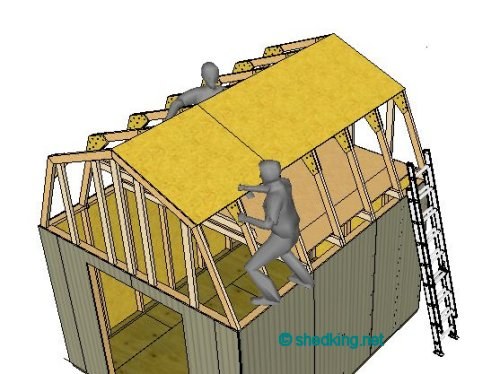 Gambrel Style
My absolute favorite of all shed roofs is the gambrel style. This style has two slopes
as opposed to the gable or saltbox designs. This design offers the most storage space for a storage shed provided the side walls are 6 foot or more.
Building a loft in the roof cavity is easy and provides much more storage space than either the gable or saltbox sheds.
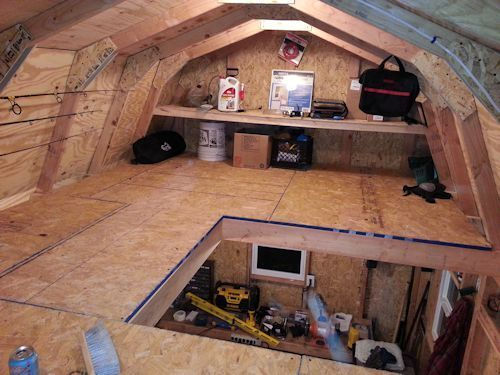 The Gambrel Style Shed Roof Offers The Largest Loft Area
How to Frame a Gambrel Shed Roof
Saltbox Shed Roof
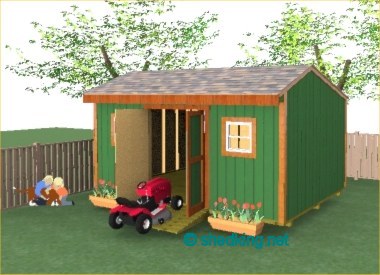
Do you want to build a shed that makes a perfect garden shed? The saltbox roof design offer lots of character and charm to the backyard. So much so that it is my very favorite style shed for a garden shed.
 Saltbox Roof Framing
Add bright colors for painting the exterior walls, and flower boxes under the windows and you have just a really neat garden shed that you can build in your wifes garden.
It offers so much style and comfort to the garden that you can design the interior to be a sitting area just to relax in and enjoy the scenery of your beautiful garden or warm summer nights gazing up at the night sky.
Guide to Building and framing a saltbox style roof.
Three Important Considerations
for Building a Shed Roof
Roof Pitch
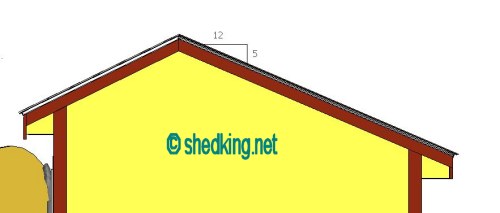
One thing you never want to do when designing your roof is build one with a pitch lower than 3-12. This means that for every horizontal run of 12", you need at least 3" of rise.
When you see this detail below, it is referring to the pitch of the roof.
 Roof Pitch
For the shed roof pictured above, the back has a 5-12 pitch.
If you have to go with a roof pitch less than 3-12, then it would either have to be a metal roof or a roof covered with a rubber membrane to prevent water penetration.
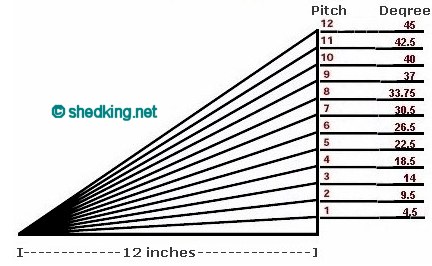 Roof Pitch and Corresponding Angle of Degree
Turn in a set of building blueprints with a pitch less than 3-12, or build a shed style roof with a low pitch, and your building inspector will not pass the construction and provisions will have to be made to get the pitch up to acceptable standards if it is going to be shingled.
Drip Edge and Felt Paper
Your shed may not be a livable space, but none the less, it is a structure in which you are going to invest a good sum of money on and you want it to last as long as possible without having to do any major repairs to.
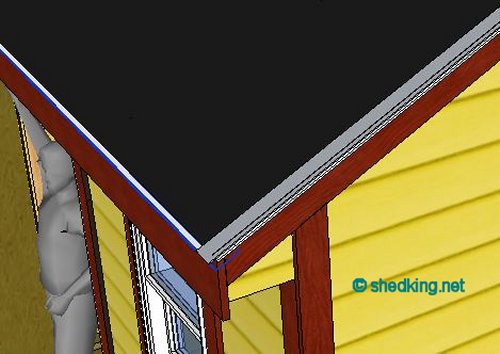
Adding drip edge and felt paper to your roof before putting down the shingles is definitely an option, but an option you should not ignore. If you don't invest the little bit of money it will take for these two items, you are asking for trouble down the road.
 Drip Edge and Felt Paper
Especially if you live in an area of the country where snow and ice are prevelant during the winter months. Freezing and thawing can wreck absolute havoc on a shed roof if it doesn't have felt paper and drip edge installed.
The underlayment will mostly rot over a period of time and you will be looking at an expense of replacing or repairing your roof. Be wise and add felt paper and drip edge to your shed.
Drip edge should be installed over the felt paper on the rake edges or side roof edges, and under the felt paper on the bottom or horizontal edges. An added measure or protection would be to add ice and water peelable rubber membrane
along the bottom edges of your roof.
Hurricane Ties
Many local counties across the country now require the use of hurricane ties for roof framing on homes, and your shed is no different. If heavy winds can damage a roof by uplifting the trusses on a house, think what it can do to a shed!
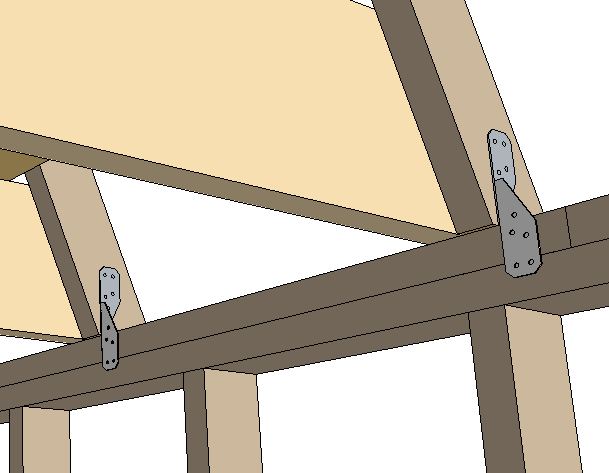 Using Hurricane Ties
Hurricane ties are nailed on to the bottom of the rafter or truss, and to the top wall plates as shown in the picture above.
If you're interested in building trusses for your shed, I do have some truss plans you can check out. You can find them here.
Rafters vs. trusses for a shed: Which is better?
Monthly DIY
Shed-in-sight
Newsletter
Subscribing will get you discounts on shed plans, monthly updates, new shed design ideas, tips, exclusive discounts on shed building resources and tools. Learn more here.
Recent Articles
-
Pictures of Sheds Built By Shedking Customers
Dec 07, 25 07:39 AM
Visit our library of pictures of sheds built from our shed plans. Get great shed design ideas and plans for storage sheds, garden sheds and more. -
How To Solar Power A Shed
Oct 24, 25 09:28 AM
how to solar power a shed -
Ways to Make Money From Your Shed: 100+ Ideas and Side Hustles
Oct 05, 25 06:51 AM
Backyard bucks: Explore 100+ profitable ways to make money from your shed. Turn your backyard shed into income machine.
My You Tube Videos
